
A step-by-step guide to installing a pressure-mounted baby gate. Detailed instructions from a father’s perspective, ensuring your child’s safety at home.
As a father of two, I understand the excitement and anxiety of preparing your home for a new baby or a newly mobile toddler. One of the key steps in this process is installing a baby gate. A simple tool that can make a difference in ensuring your child’s safety.
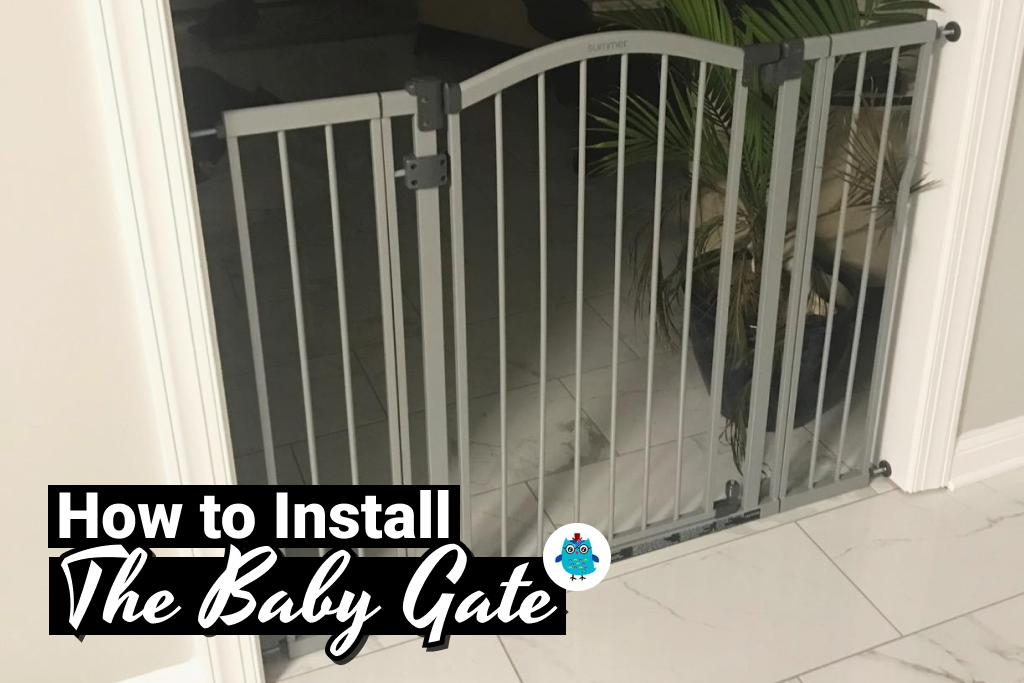
In this guide, we’ll walk through the process step by step for installing a pressure mounted baby gate. For this tutorial, the Summer Infant Safety Gate will be installed.
This guide will cover the following:
- Preparing for Installation
- Installing the Gate
- Securing the Gate
- Finalizing the Installation
- Special Considerations for Stairs
- Conclusion
Whether you’re a first-time parent or a seasoned pro, this guide will provide the information and confidence you need to install your baby gate correctly.
To fully proof your home, make sure you get the babyproofing equipment from this list!
And the best part? I have a detailed video available that you can follow as you install your baby gate. This visual guide will complement the written instructions, making the installation easier to understand.
So, let’s embark on this journey together, one step at a time.
Preparing for Installation of The Baby Gate
Before we dive into the nuts and bolts of installation, let’s talk about preparation. It’s like measuring the ingredients before baking a cake.
Getting the Tools You’ll Need for the Installation
- A measuring tape: This measures the width and height of the area where you want to install the gate. This will help you determine if you need any extensions.
- A pencil: This is used to trace the outline of the tension pads on the wall where you plan to install the gate. This will help you determine where to place the wall cups.
- A pair of scissors: This is needed to cut the zip tie that keeps the gate secure during shipping.
I would also recommend getting a container to put all the tiny loose parts, like screws, so you don’t lose any while installing.
Measuring the Area for the Gate
You’ll need to measure the width of the area where you want to place the gate. Also, considers the height you’d like the gate to be.
Based on your measurements, you might need to use the included extensions. The extensions are used to ensure the gate fits perfectly into your space. You shouldn’t put all the extensions on the same side. It’s better to put one extension on each side.
Also, before opening the baby gate box, double-check if the measurement corresponds to the gate you bought. It will be easier to get a refund if the box is closed.
Unboxing the Baby Gate
The box of a pressure-mounted baby gate typically contains the following items:
- The Gate: This is the main part of the baby gate.
- Extensions: These are included with your gate and are used to ensure a perfect fit in your space.
- Tension Bolts: These bolts slide freely into the four corners of the gate. They do not screw into the gate but are crucial for its installation.
- Wall Cups: These are required for most gates to meet safety standards. They help keep your gate in place and are where the tension pads sit.
- Adhesive Mounting Pads: These are used to attach the wall cups to the wall.
- Zip Tie: This is used to keep the gate secure during shipping and removed during installation.
- Instruction Booklet: This contains detailed instructions and safety warnings for your gate.
Please note that the box’s contents may vary depending on the specific model of your gate.
Noticing the Bent Structure of the Gate
As you unbox your gate, it looks slightly bent, and the door doesn’t quite meet the latch. Don’t worry, that’s normal. It’s designed this way to pressure the gate to stay in place.
I remember feeling puzzled when I first saw this, but then I realized it’s a bit like those 3D puzzles my kids love – it might look strange at first, but it all makes sense when you put it together.
Ready? Let’s move on to the installation!
Installing the Gate: A Step-by-Step Guide
Let’s get down to the nitty-gritty of installing your pressure-mounted baby gate. As a father of two, I understand the importance of clear, concise instructions. Here’s a step-by-step guide to help you through the process.
Step 1: Attaching the Extensions
First, we need to attach the extensions to the gate. These extensions are included with your gate and are used to ensure a perfect fit in your space. It’s important not to put all the extensions on one side. Attach one extension on each side of the gate for a balanced setup. Refer to your instruction booklet to determine how many extensions you need for your specific space.
Step 2: Inserting the Tension Bolts
Next, we’ll insert the tension bolts. These bolts are crucial for the gate’s installation. They slide freely into the four corners of the gate and do not screw into it. Spin the tension nuts so they touch the pads, allowing the tension bolts to slide into the corners of the gate.
Step 3: Placing the Gate in the Opening
Now, it’s time to place the gate in the opening. Make sure the bottom of the gate is touching the floor. The gate should be centered, ensuring equal distance on both sides. This is important for the stability and security of the gate.
Step 4: Adjusting the Tension Bolts
Finally, we’ll adjust the tension bolts. Slide all four tension bolts out until the pads touch the wall. This will create the necessary pressure to hold the gate in place. Remember, the gate is designed to look bent, allowing it to stay securely in place.
Let’s move on to the next part, securing the gate.
Securing the Gate
Now that we’ve installed the gate, it’s time to secure it. This is crucial to ensure the gate stays in place and functions effectively. Here’s a step-by-step guide to help you secure your pressure-mounted baby gate.
Step 5: Understanding the Role of Wall Cups
Wall cups are an essential component of your baby gate. They act as a support system for the gate, helping it stay in place. The wall cups are designed to hold the tension bolts, creating a secure and sturdy structure for your gate.
Step 6: Tracing the Outline of Tension Pads
Next, you’ll need to trace the outline of the tension pads. This is an important step as it helps you determine where to place the wall cups. Use a pencil to trace around the tension pads on the wall where you plan to install the gate.
Step 7: Attaching Adhesive Mounting Pads to Wall Cups
Once you’ve traced the outline, it’s time to attach the adhesive mounting pads to the wall cups. These sticky pads help secure the wall cups to the wall, ensuring they stay in place. Peel the backing off one side of the adhesive pad and stick it to the back of the wall cup.
Step 8: Placing Wall Cups in Position
Now, it’s time to place the wall cups in position. Peel the backing off the adhesive pad’s other side and stick the cup to the wall, aligning it with the outline you traced earlier. Repeat this process for all the wall cups.
Step 9: Tightening the Tension Nuts
Finally, you’ll need to tighten the tension nuts. This is the final step in securing your gate. Tighten the tension nuts until the gate is securely in place. Remember, the gate should look bent, allowing it to stay securely in place.
Now that our gate is secure let’s finalize the installation.
Finalizing the Installation of the Gate
We’re almost there! Now that we’ve installed and secured the gate, it’s time to finalize the installation. Here’s a step-by-step guide to help you complete the process.
Step 10: Removing the Zip Tie
The first step in finalizing the installation is removing the zip tie. The zip tie keeps the gate secure during shipping and is no longer needed once the gate is installed. Carefully cut and remove the zip tie without damaging the gate.
Step 11: Checking the Gate Latches
Next, you’ll need to check the gate latches. This is an important step to ensure the gate is functioning properly. The latch should securely close and open the gate. If the latch is not working properly, check the installation steps again to ensure everything is in place.
Step 12: Opening the Gate
Finally, it’s time to open the gate. To open the gate, you’ll need to push the release button away from the handle and lift up on the gate. This should allow the gate to swing open freely.
Following these steps, you’ll have a fully installed and functional baby gate. But what if you’re installing the gate at the top of the stairs? Let’s explore that next.
Installing the Gate at the Top of the Stairs
When installing a baby gate at the top of stairs, there are a few special considerations to remember. As a father, I understand the anxiety of ensuring your child’s safety, especially around stairs. Let’s walk through these considerations together.
Installing Wall Cups with Screws for the Top of Stairs
If you’re mounting the gate at the top of the stairs, the wall cups must be installed with screws. This is crucial to ensure the gate is securely in place and won’t shift or move. It’s like securing a heavy piece of furniture to the wall. You want to make sure it’s going nowhere.
Positioning the Gate to Open Away from the Stairs
Another important consideration is the direction in which the gate opens. For safety reasons, the gate should be positioned to open away from the stairs. This prevents the gate from accidentally being pushed open, leading to a fall down the stairs. It’s a simple adjustment that can make a big difference in your child’s safety.
Understanding the Role of the Door Stopper
Finally, it’s important to understand the role of the door stopper. The door stopper is a small device that prevents the gate from swinging open over the stairs. It prevents the gate from opening too far and posing a risk.
By taking these special considerations into account, you can ensure that your baby gate is installed correctly and provides the maximum level of safety for your child.
Conclusion: Your Baby Gate is Ready
Congratulations! You’ve successfully installed your pressure-mounted baby gate. As a parent, I know the relief of knowing your child is safe. Now, you can enjoy some peace of mind, knowing your little ones are safe and secure.
Remember, each step you take towards baby-proofing your home creates a safe environment for your child to grow and explore.
You’re doing a great job.